
Hair Math and Real Talk: The Ultimate Guide to the Classic Sew In

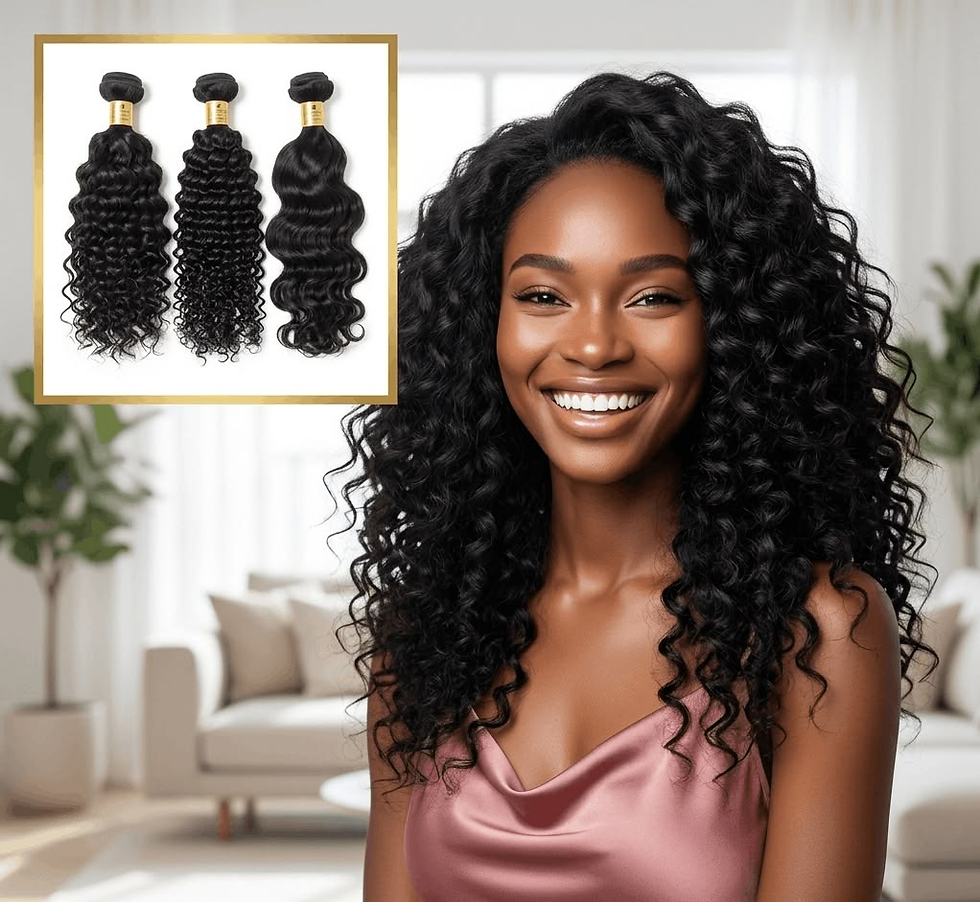
Be honest, for a minute here. In the world of beauty, things happen fast. Every single week, the world of social media is trying to tell us there's something brand new, a “revolutionary” hair-extension treatment that will change our lives. It can range from beads to tape-ins or any other very expensive invisible technology.
Yet, through every passing trend, one style has quietly held down the crown for decades: the classic sew in.
If you’re on the fence about getting your first install, overwhelmed by salon jargon, or just tired of reading dry articles that sound like they were written by a bot, you’re in the right place. Here is the unvarnished, real-world guide to getting a sew in hair extensions, taking care of it, and keeping your natural hair thriving underneath.
What Actually Happens in the Salon Chair?
If you’ve never had a sew in, the process can sound a little intense. You aren't just clipping in a few tracks and walking out the door. It’s a full mechanical system designed to give you secure length and volume without a single drop of glue or tape.
Here is the step-by-step breakdown of how a professional install comes together:
Step 1: Building the Braid Foundation
Your stylist will wash, deep-condition, and blow out your natural hair before braiding it tightly against your scalp into cornrows. This isn't just for neatness—this braid pattern is your foundation. It determines how flat your hair sits, where your part falls, and how weight is distributed across your head.
Step 2: The Net (Your Scalp's Best Friend)
Most experienced stylists will sew a breathable, lightweight mesh net over your braids before touching the extension hair. This is an optional step that will really change things for you; it eliminates stress on your real hair strands and provides a strong base for the stylist to sew into.
Step 3: Stitching the Wefts
Using a curved blunt needle and specialized thread, your stylist stitches the tracks (wefts) directly onto the braided foundation, working from the nape of your neck upward. Because this hold is purely physical—no heat, chemical bonding, or adhesive involved—it is rock solid. You can workout, sleep, and go about your life without that constant fear of a track slipping out in public.
Step 4: Custom Cut and Style
Once all your bundles are locked into place, your stylist will blend, layer, and heat-style the hair so it frames your face naturally.
The Great Debate: Leave Out vs. Closures

Before your stylist starts braiding, you have to answer one crucial question: How are we finishing the top?
The Leave Out Route: A small, horseshoe-shaped section of your natural hair is left unbraided at the top to cover the tracks. It looks incredibly realistic because your actual scalp and hairline are showing. The trade-off? You’ll need to heat-style your leave out regularly so its texture seamlessly matches the extensions.
The Closure Route: 100% of your natural hair gets braided down safely under the net. A lace piece with hair tied to it mimics a scalp at the crown. This is the ultimate "low maintenance" option for your real hair because it gets a complete vacation from heat, wind, and daily manipulation.
Survival Tips: How Not to Ruin Your Real Hair

A sew in is a fantastic protective hairstyle, provided that you do things right. These are non-negotiable tips on how to take care of your natural hair while rocking one:
1. Talk About Tightness
There is a dangerous misconception that the process has to be painful in order to be effective. This is far from the truth. If your stylist is pulling so hard that your eyes are watering, ask them to ease up. Painful tension leads to bumps, headaches, and in severe cases, traction alopecia (hair loss). A good install should feel snug, never painful.
2. The "Funk" is Real—Dry Your Roots!
You can definitely wash your sew in, but air-drying is a trap. While the hair extension on top will dry in an hour, your thick natural braids underneath will stay damp for days. That trapped moisture creates a sour, mildew smell. Whenever you wash your hair, sit under a hooded dryer or use a blow dryer on low heat until your base is 100% dry down to the scalp.
3. Respect the 8-Week Mark
It hurts to take down a style that still looks gorgeous, but 8 to 10 weeks is the absolute limit. As your natural hair grows out, the tracks sit further away from your scalp. Leaving them in too long causes the weight of the extensions to pull heavily on your new growth, leading to severe matting and breakage.
Frequently Asked Questions

Does a sew in feel heavy?
For the first 24 to 48 hours, yes, you’ll notice the extra weight—especially if you installed three or four full bundles. However, your scalp and neck muscles adjust quickly, the initial tightness settles, and by day three you will barely notice it's there.
How do I relieve an itchy scalp?
Resist the urge to aggressively dig into your scalp with a rat-tail comb or your fingernails, which can cause micro-scabs. Instead, use a lightweight scalp oil with a pointed nozzle to target the itchy spots directly between the tracks, or stick to the classic "weave pat."
How many bundles of hair do I need?
It depends on the length you're going for:
12" to 14": 2 bundles are usually plenty.
16" to 20": 3 bundles give a full, natural density.
22" and longer: 4 bundles are recommended so the ends don't look thin or stringy.
Can I reuse the hair?
If you bought cheap synthetic hair, no—it’s single-use. But if you invested in high-quality virgin human hair, absolutely! You can have your stylist wash, deep-condition, and reinstall those same bundles for up to a year or more.
Will a sew in damage my natural hair?
Not when it’s installed and removed properly. In fact, many people use sew ins specifically to grow their hair out. Damage only happens from three things: braids that are way too tight, leaving the install in past 10 weeks, or rushing the removal process and accidentally cutting your own hair.
The Bottom Line

Trends will rise and fall, but the sew-in will always hold its place because it allows you absolute freedom with your length, color, and texture, without compromising the well-being of your actual hair. Just ensure that you team up with an experienced stylist who takes care of the hair, keep the base squeaky clean and dry, and look effortlessly glamorous!


Comments