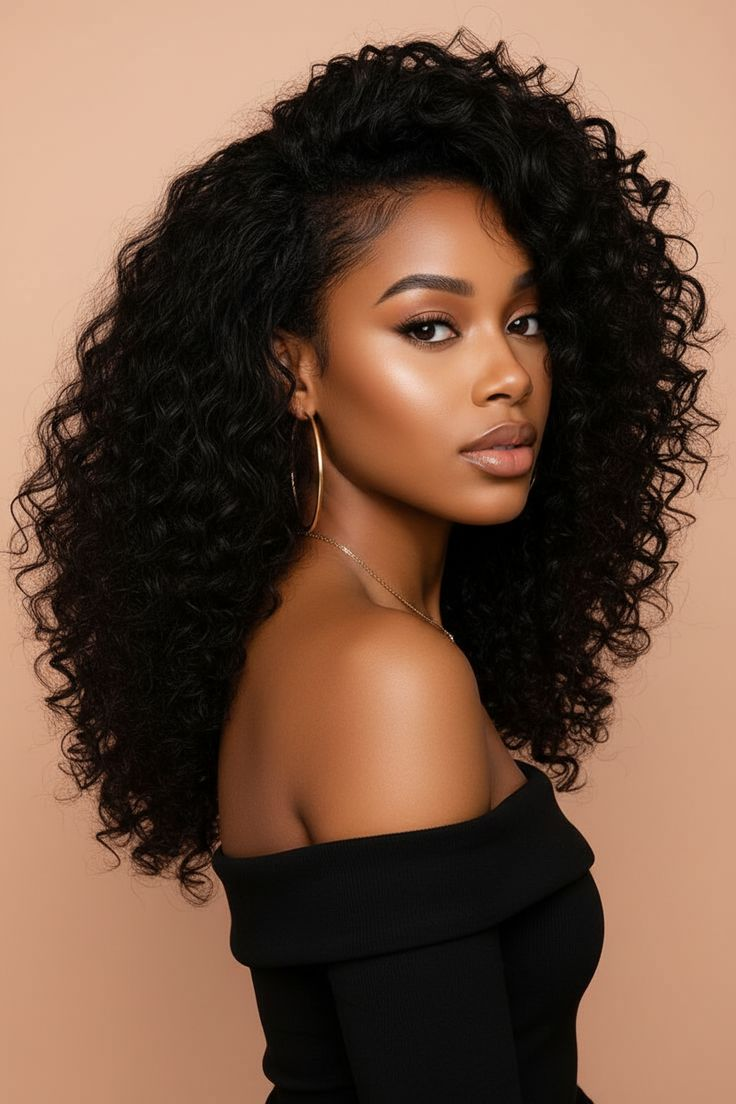
Quick Weave Hair: A Comprehensive Guide to Effortless Style
- elisa vincent

- Jul 30, 2024
- 4 min read
Quick weaves have become a popular hair trend due to their versatility, affordability, and convenience. They offer a great solution for individuals seeking to switch up their hairstyle without committing to long-term options like sew-ins or wigs. In this comprehensive guide, we’ll explore what quick weaves are, how to install them, their benefits, and tips for maintaining them. Whether you're a seasoned hair enthusiast or a newcomer, you'll find everything you need to know about quick hair weave right here.
What is a Quick Weave?
A quick weave is a also kind of hair extension method that involves bonding hair weave to a protective cap or directly to the natural hair using adhesive. This method is called "quick" because it typically takes less time to install compare to traditional sew-ins or other intricate styles. Quick weaves can be made with human hair, synthetic hair, or a blend of both, allow for a different of styles and textures.
Benefits of Quick Weaves
Time-Saving: As the name suggests, quick weaves are relatively fast to install. Depending on the complex of the style, it can take as little as an hour to complete.
Cost-Effective: Quick weaves are generally more affordable than other extension methods. The materials and the installation process are less expensive, making it a budget-friendly option.
Versatility: Quick weaves allow for a different hair style, from sleek and straight to curl and long. You can select with different colors and textures without altering your natural hair.
Protective Style: When installed correctly, quick weaves can protect your natural hair by reducing daily styling stress. The protective cap acts as a barrier, safeguarding your hair from the glue used in the process.
Easy Removal: Quick weaves are designed for short-term use, making them easier to remove than other extension methods. This is ideal for those who like to change their hairstyles frequently.
How to Install a Quick Weave
Materials Needed:
Wefts of hair (human or synthetic)
Weaving cap
Hair adhesive (bonding glue)
Scissors
Comb
Blow dryer (optional)
Protective serum (optional)
Step-by-Step Installation:
Prepare Your Natural Hair: Begin by washing and conditioning your hair. Make sure it is completely dry before starting the installation. Braid your hair into Box Braids or create a flat base to provide a smooth surface for the cap.
Apply the Weaving Cap: Place the weaving cap over your braided hair. Ensure it fits snugly but comfortably. The cap will protect your natural hair from the adhesive.
Prepare the Wefts: Measure and cut the hair wefts to fit the shape of your head. Start with the back and work your way up to the crown. If desired, apply a protective serum to the wefts to minimize damage from the glue.
Attach the Wefts: Apply a thin layer of hair adhesive to the weft. Press it firmly onto the cap, starting from the nape of your neck and moving upper side. Use a blow dryer to speed up the dry process if needed. Continue this process, layering the wefts until you reach the desired volume and coverage.
Style the Hair: Once all the wefts are in place, you can cut and style the hair to your liking. Trim any excess cap around your hairline for a natural look.
Maintaining Your Quick Weave
Avoid Excessive Heat: While some quick weaves can withstand heat styling, excessive heat can weaken the adhesive and damage the hair. Use heat protectant sprays and avoid using high heat settings.
Gentle Washing: When washing your quick weave, be gentle to avoid loosening the adhesive. Use sulfate-free shampoos and conditioners, and focus on the scalp to keep it clean without disturbing the wefts.
Moisturize: Keep your natural hair and the weave moisturized. Use lightweight oils and leave-in conditioners to maintain shine and prevent dryness.
Sleep Protection: Wear a satin or silk bonnet at night to protect your weave from friction and tangling. You can also use a satin pillowcase for extra protection.
Regular Maintenance: Depends on the quality of the hair and the adhesive used, a quick weave can last from 2 to 4 weeks. Regularly check the wefts and reapply glue if needed to maintain a seamless look.
Potential Drawbacks
While quick weaves offer numerous benefits, there are some potential drawbacks to consider:
Adhesive Sensitivity: Some individuals may have allergic reactions or sensitivities to the hair adhesive. Conduct a patch test before full application.
Short Lifespan: Quick weaves are not meant for long-term wear. They need to be replaced or redone every few weeks.
Potential Damage: If not removed properly, the adhesive can cause damage to your natural hair. Always follow proper removal techniques to avoid breakage.
Conclusion
Quick weaves are an excellent option for those looking to achieve a new hairstyle quickly and affordably. They offer versatility and can be a great protective style for natural hair when done correctly. By following the proper installation and maintenance steps, you can enjoy a beautiful and flawless look with minimal effort. Whether you’re preparing for a special occasion or just want to switch up your everyday style, quick weaves provide a flexible and stylish solution.


Comments